Last updated November 22, 2026
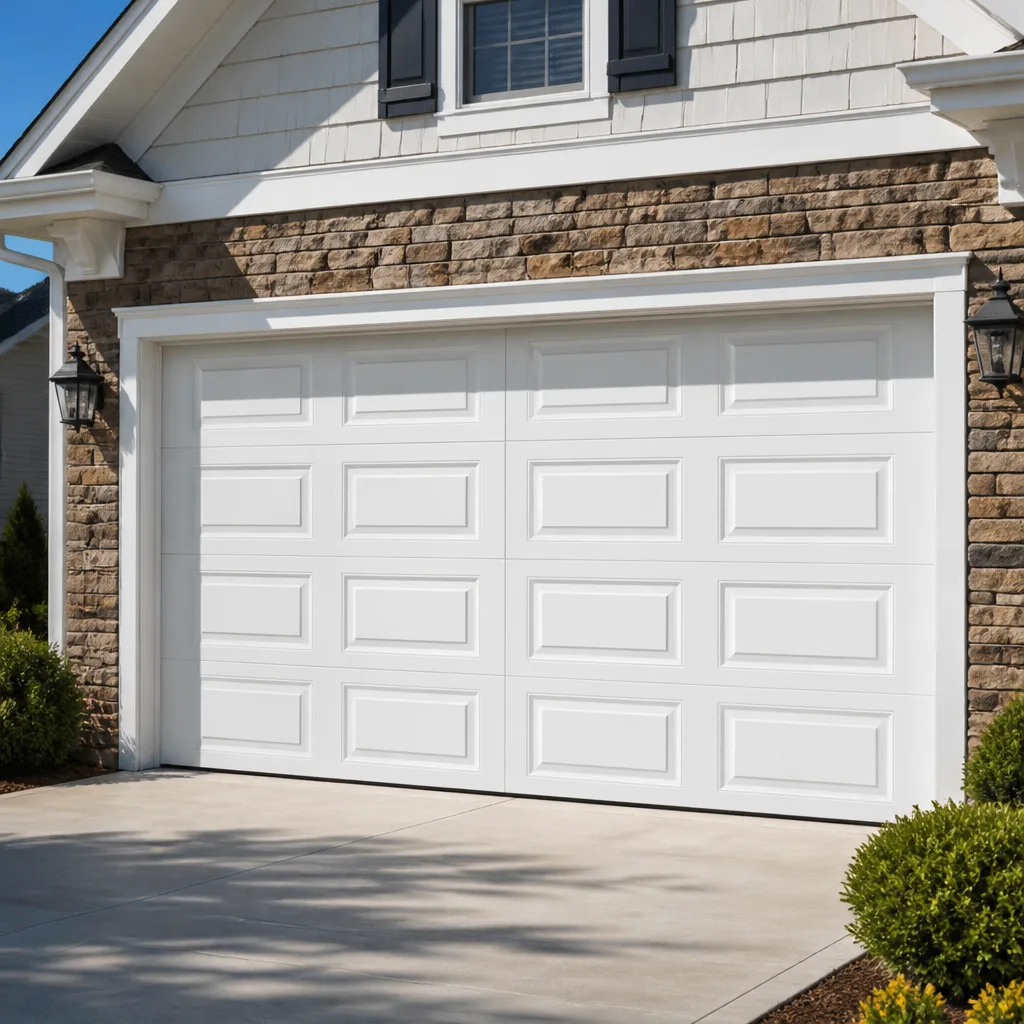 Raised-panel steel
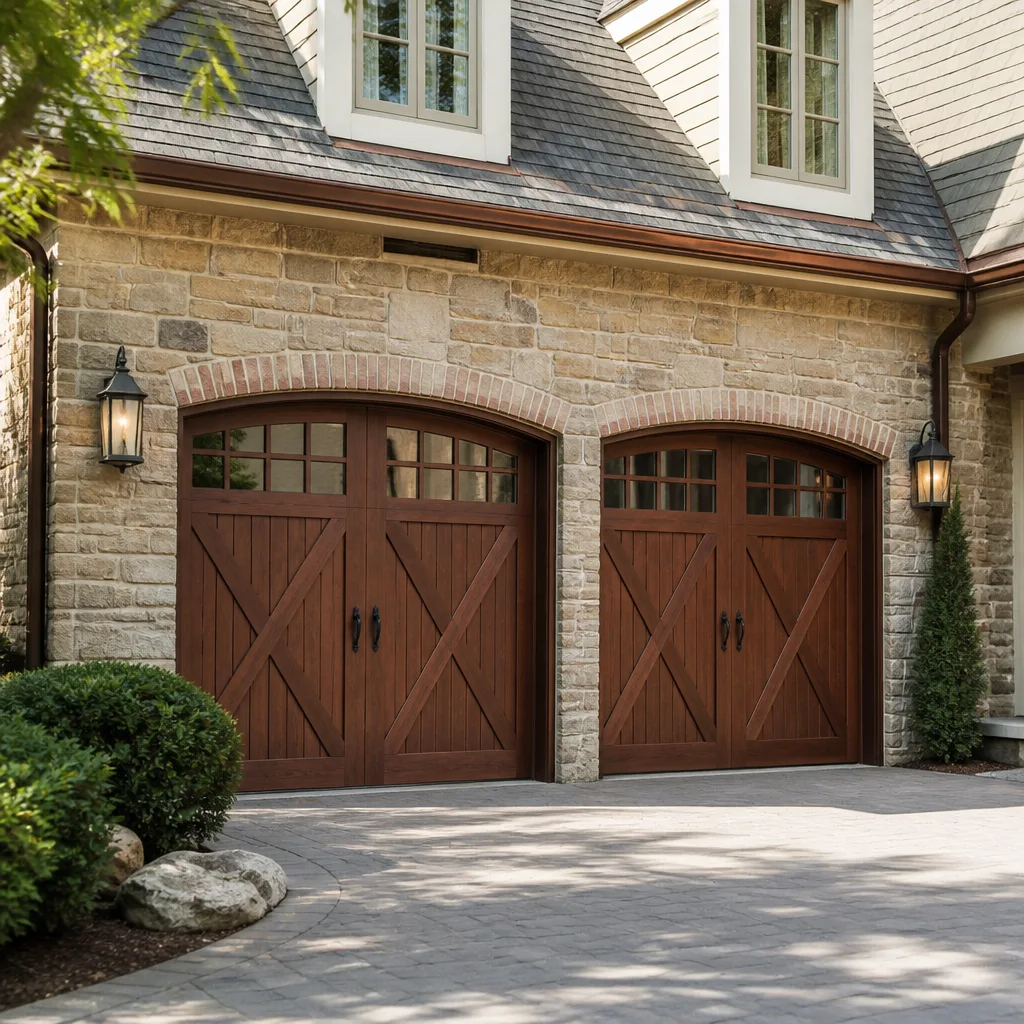 Carriage house
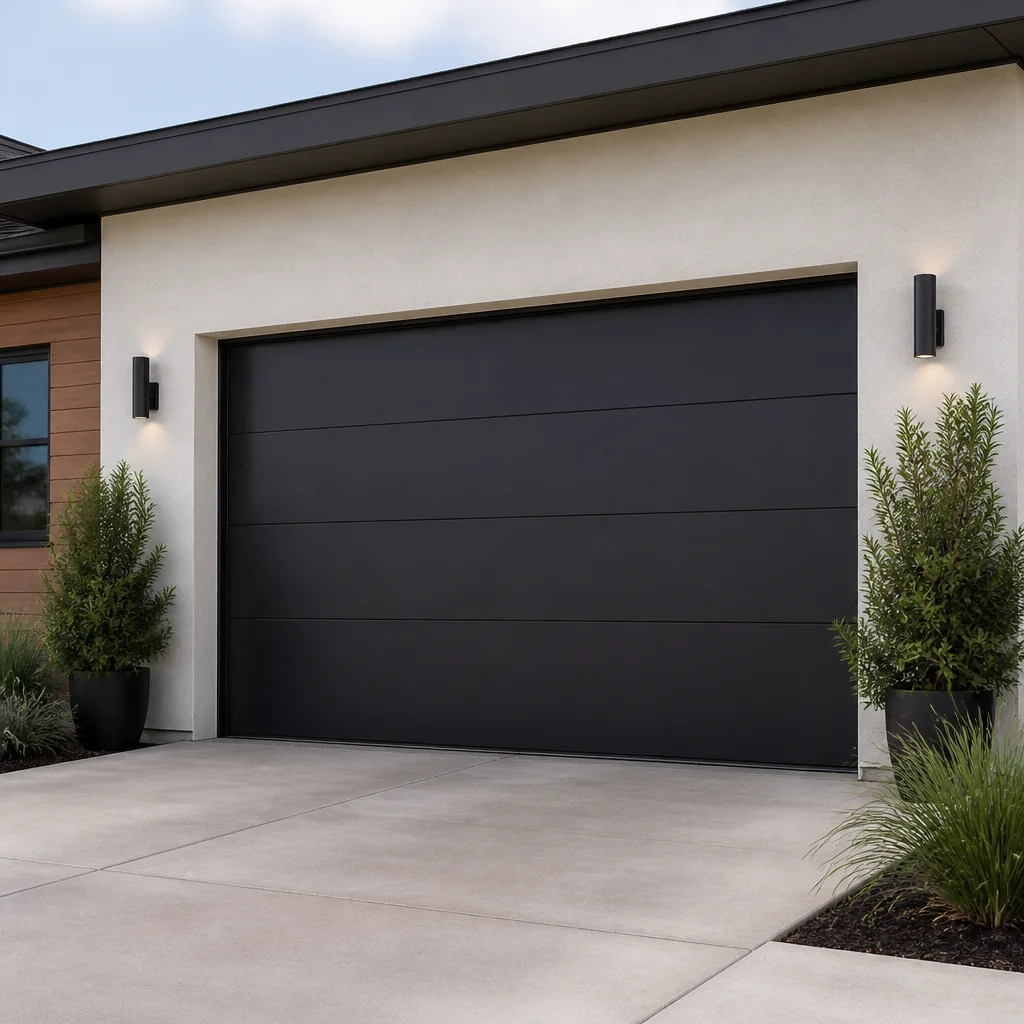 Modern flush
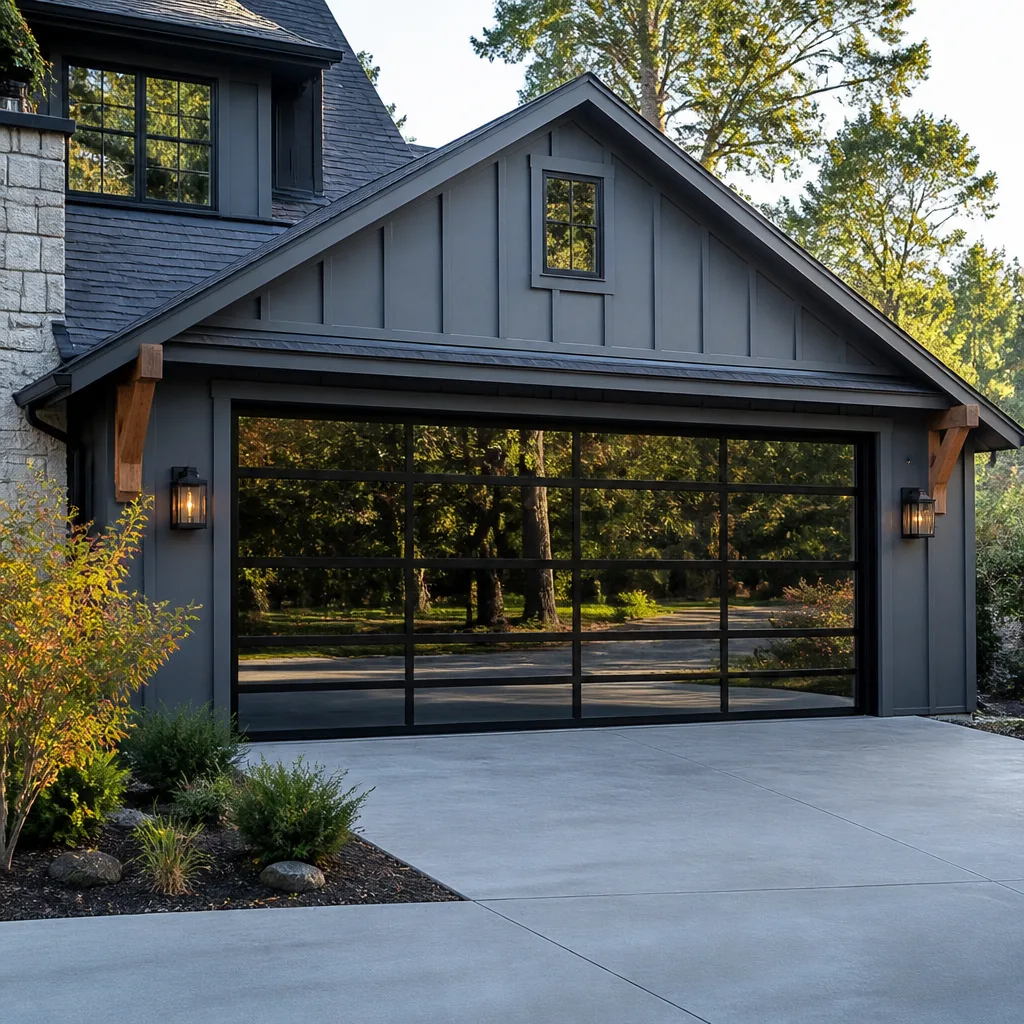 Full-view glass
 LiftMaster openers
 Chamberlain openers
Full 25-point door and opener safety check with every visit - springs, cables, rollers, tracks, and your LiftMaster or Chamberlain opener included
You get a price before we start. It does not change when the pro arrives.
Get your free estimateGarage Door Repair Maintenance Checklist for South Hill Homeowners
A checklist that tells you to “lubricate the springs” without warning you that those same springs store enough force to break bones isn’t a maintenance guide. It’s a liability. Most garage door checklists floating around the internet blur the line between tasks a homeowner can safely handle and tasks that belong in trained hands, and that blur is exactly where people get hurt. We’ve seen the results of that confusion on plenty of South Hill doors. This guide splits the work honestly: what you can do yourself, what you should never touch, and when to time each check around South Hill’s seasons. You’ll finish knowing what to look at, what to leave alone, and how to log it all so a technician can diagnose faster when something finally breaks.
Quick Answer
Garage door maintenance in South Hill splits into two tracks. Homeowners can safely handle lubrication, visual inspections, bottom seal checks, weather stripping, and track cleaning. Springs, cables, cable drums, and opener force adjustments belong to a technician because those components store dangerous tension. The best timing in South Hill is a pre-winter check before Puget Sound cold snaps and a post-summer check after months of heat expansion. Our technicians have up to 8 years of experience, and our garage door repair work covers every one of these failure points.
Styles & brands we work with
- Raised-panel steel
- Carriage house
- Modern flush
- Full-view glass
- LiftMaster openers
- Chamberlain openers
Table of Contents
- The Honest Two-Column Split: What You Can Do vs. What You Can’t
- How to Time Your Checklist to South Hill’s Seasons
- The Five Components South Hill Homeowners Skip Most
- Normal Wear vs. Early Failure on Springs and Rollers
- Homeowner-Safe Tasks, Step by Step
- Technician-Only Tasks and Why You Should Never Touch Them
- How to Log Maintenance History That Actually Helps
- Why Brand Fluency Matters on Maintenance and Repair
The Honest Two-Column Split: What You Can Do vs. What You Can’t
Start here. Everything else in this guide builds on this split, and if you only take one thing away from the page, take this.
The Homeowner-Safe Column
- Lubricating hinges, rollers, and the torsion bar bearing plates (never the spring itself)
- Cleaning the tracks and wiping away grit and leaves
- Checking and replacing the bottom seal
- Inspecting weather stripping along the sides and top
- Testing the photo-eye safety sensors
- Listening for new sounds and noting changes
- Checking door balance by hand with the door disconnected from the opener
- Calling the opener manufacturer’s routine to run and note force settings – read only, not adjust
The Never-Touch Column
- Torsion springs and extension springs (both store dangerous energy)
- Cables and cable drums (cables run under tension and can whip if released)
- Adjusting or replacing the spring assembly itself
- Changing opener force adjustment settings to compensate for a struggling door
- Replacing the door’s bottom bracket or center bracket
- Rearranging hinges on a panel door unless you know exactly why
The second column is short because it’s narrow on purpose. Springs and cables carry dangerous stored force, and a mistake releases it suddenly. A maintenance checklist that doesn’t separate these two lists is giving you homework you shouldn’t do. When a spring, cable, or bracket issue shows up, that’s a technician call. For that side of the house, we offer dedicated garage door spring repair because these components deserve someone who has done them hundreds of times.
How to Time Your Checklist to South Hill’s Seasons
South Hill’s climate shapes a garage door’s life more than most homeowners realize. Puget Sound winters bring damp, cool stretches and occasional cold snaps. Summers bring longer warm spells, and doors on south- or west-facing walls take direct sun for hours. Each season pushes the door in a different direction, and the checklist should follow.
Pre-Winter Check (Late Fall)
This is the most important pass of the year for South Hill. Cooler nights tighten and stiffen the metal components, and anything that was already near failing tends to fail once temperatures drop. Before that first cold snap:
- Lubricate hinges and rollers. Cold weather makes a dry roller seize faster.
- Check the bottom seal for cracks and gaps. Cold air leaks in fast through a split seal.
- Run the door by hand (opener disconnected) to confirm it moves smoothly. Stiffness now can signal a spring that’s losing tension.
- Test the photo-eye sensors. Cold can fog them, and a dirty sensor stops the door for no obvious reason.
- Look for rust on the bottom bracket and track base, where moisture from fall rain collects.
Post-Summer Check (Early Fall)
After months of heat, doors that face the sun through South Hill’s warm season tend to expand, and the symptoms show up later: warped panels, loosened hinges, and tracks that drifted slightly out of alignment. This is the pass to:
- Look along the door panels for ripples or bowing on the sunny side.
- Check the top corners of the weather stripping, where heat tends to loosen the seal.
- Wipe the tracks and check that the door runs evenly on both sides.
- Test the balance point – a door that wants to drift down on one side needs tracking.
If you can do one thing for your door in South Hill, do the pre-winter check. It catches more problems than any other single pass, and it catches them before cold weather turns small issues into calls at the worst possible time.
The Five Components South Hill Homeowners Skip Most
The same five parts get ignored in almost every home we look at. They’re not hard to check. They’re just invisible until something goes wrong.
1. The Bottom Seal
That rubber flap at the bottom of the door takes constant wear from the ground, water pooling on the driveway, and the door closing on it thousands of times. When it splits or falls off, you get water intrusion, pest entry, and drafts. It’s also a cheap part to replace. Check it twice a year and replace it the moment you see a crack or sag.
2. Track Alignment
The vertical tracks don’t need to be adjusted often, but they do pick up grit from South Hill’s tree cover (leaves, pine needles, and dust settle into the channel). A track can also get bumped out of alignment just by the door hitting something in its path. Look from floor to ceiling along the vertical run and check the gap between the door and each track stays the same.
3. Cable Drums
These are the flanged wheels at the top of the door where the cables spool up. They rarely fail outright, but the cable can slip a groove if the door has been running slightly out of balance. A quick visual check for a wandering cable or a drum with a groove that looks worn is safe to do. Replacing or re-seating the cable is not – that’s a technician task.
4. Weather Stripping at the Top Corners
The top seals on a garage door take a beating. Corners get pulled, and the sealant behind the outer nails loosens. A top corner that has come loose lets cold air and rain in from the top edge where you can’t see it from inside. Run a finger along the top corners and test the seal at the start of each season.
5. Opener Force Settings
These are the settings that tell the opener how hard to push before reversing. Homeowners adjust them when the door feels sluggish, but that’s the wrong fix: if the door is sluggish, the door is the problem. A too-high force setting means the door keeps pushing through obstructions. Read-only inspection of the force setting is fine. Adjusting it is a call to us, and this is one of the first things we check with our garage door opener repair service.
Normal Wear vs. Early Failure on Springs and Rollers
Knowing the difference keeps you from calling us over routine wear and from ignoring a spring that’s about to snap. Here’s the honest read on both.
Torsion Springs
A torsion spring on a standard residential door is a wound metal coil above the door. Normal wear shows as a slight change in the sound the door makes: more tension, less tension, a subtle clunk. That’s the spring working within its range. Early failure warning signs include:
- A visible gap in the coil (a spring that’s parted)
- The door opening only partway and then stopping
- A loud bang when the door is operated
- A door that feels unusually heavy when lifted by hand with the opener disconnected
Springs don’t usually fail with a warning you can see from across the garage. If you hear anything unusual or the door suddenly feels heavy, stop using it and call. Do not try to wind, oil, or release a spring yourself – that’s how people get hurt. For heavier doors, common in South Hill homes with oversized or insulated doors, or door brands like Clopay, Amarr, and Wayne Dalton with specific spring configurations, let a technician confirm the exact replacement.
Rollers
Rollers usually give you plenty of notice. Normal wear looks like a slight flat spot on the wheel and a bit more rumble when the door runs. Early failure shows as:
- A visible crack or flat spot on the roller wheel
- A roller that wobbles in its hinge
- A door that runs unevenly on one side
- Metal-on-metal grinding sounds
Roller replacement is a straightforward repair, but the new roller needs to be the right type (nylon versus steel) and sized to your hinge. We work on the brands that dominate South Hill’s neighborhoods, and our team is factory-familiar with the wear patterns that show up on common doors like Craftsman and Wayne Dalton, so we can tell you whether a roller replacement is the whole fix or a symptom of something else.
Homeowner-Safe Tasks, Step by Step
This is the list. Each of these is safe with no special tools beyond a ladder, a rag, garage door lubricant (a light grease or silicone spray), and a bit of care.
1. Lubricate Hinges and Rollers
Disconnect the opener and put the door in the down position. Apply lubricant to each hinge where the metal contacts metal, and to the roller stems (not the roller wheels). One pass, no over-application. Lubricate the torsion bar bearing plates at the top of the door. Never lubricate the springs themselves; oil attracts grit and can mask a failing spring.
2. Clean the Tracks
Wipe the inside of the vertical tracks with a damp rag and check for grit, leaves, and pine needles. Do not lubricate the tracks. A dry track is a smooth track.
3. Check the Bottom Seal
With the door down, push a fingertip under the bottom seal along its length. You should feel the seal touching the ground fully. Any gaps, cracks, or sagging means replace it. This is a cheap part and easy to swap.
4. Inspect Weather Stripping
Run your hand along the side stops and top corners. Look for loose nails, curled edges, or light visible through the seal.
5. Test the Reversing System
Place a piece of wood or a brick under the door path and run the door down; it should reverse when it contacts the obstacle. Then test the photo-eye sensors by passing an object between them while the door closes. It should reverse. Every garage door sells with this safety feature and it saves lives. If either fails, stop and call.
6. Check Door Balance
With the opener disconnected, lift the door to halfway and let it go. A balanced door stays put. A door that drifts down on one side or slams down has a tracking or spring problem. Do not force it further. Note the symptom and call.
Technician-Only Tasks and Why You Should Never Touch Them
This is the section that most checklists won’t write. There’s a good reason: the tasks in this list aren’t optional homework, they’re dangerous. Here’s the honest breakdown of what we handle and why.
Torsion and Extension Springs
Springs store enough force to injure or kill if released the wrong way. Even a spring that looks sitting there quietly is still holding tension. Winding, unwinding, or replacing a spring without the correct winding bars, the right technique, and a firm knowledge of the door’s balance is a hard no. We don’t recommend homeowners stand near the spring during operation, either – if it’s failing, it fails fast. Our team handles garage door spring repair specifically, and this is a repair where the consequences of doing it wrong are serious.
Cables and Cable Drums
Cables run under high tension between the drum and the bottom corner bracket. A cable that slips or is released suddenly can whip and cause serious injury. Cables are also a routine replacement, not a job for a homeowner with a wrench.
Opener Force and Travel Settings
Adjusting force settings is one of the most common DIY mistakes. If the door is getting harder to move, changing the opener’s settings is treating the symptom while making the door less safe (a too-high force setting can keep pushing through a person or object in the door’s path). Travel limits, force, and reversing sensitivity need a technician’s diagnostic read.
Anything With a Grinding or Banging Sound
Not a DIY job. A grinding or banging sound usually points to a mechanical failure downstream of whatever the noise is – a spring, a bearing, a bent track, a failing roller. Every one of those is a technician visit. We work on every major brand, from genie openers to craftsman doors, and we’d rather diagnose once than have you replace parts one at a time hoping the noise stops.
How to Log Maintenance History That Actually Helps
A log isn’t the same thing as a note. When a technician shows up to diagnose a problem, the log is what turns a 45-minute hunt into a 10-minute fix. Here’s what to record and how to keep it useful.
Log These Five Things Every Time
- Date and what you did (visual check, lubrication, seal replacement)
- Any new sound, symptom, or odd behavior you noticed, even if it went away
- The brand and model of the door and opener (if you can find it on the tag)
- The date and result of the last balance check
- Whether the door has been operated heavily that week (moving furniture, frequent home entrance, etc.)
Keep It Where You Can Find It
A small notebook in the garage or a note on your phone, as long as you use the same one every time. Log entries should be short: one line per event. The detail level matters less than the pattern. A technician who sees “stiff door, checked balance, drifted left, recurring” can tell you something immediately that a vague memory can’t.
What We Look For
When we’re called out, the most useful information is the pattern of changes, not any single incident. A door that has been slowly drifting left for two months, or a seal that’s been splitting in the same spot for three seasons, tells us what part to check first. That’s the reason we ask to see the log on the second visit. It saves both of us time.
Why Brand Fluency Matters on Maintenance and Repair
Garage doors and openers are not one product. They’re a dozen product families, each with its own spring ratings, roller types, opener electronics, and safety sensor systems. When we’re called to a maintenance visit or a repair, brand fluency is what shortens the diagnostic and gets the right part on the first trip.
We’re factory-familiar with eight major brands: LiftMaster, Chamberlain, Genie, Clopay, Amarr, Wayne Dalton, Craftsman, and Raynor. That means we can look at your door or opener, name it, and know the tool and the replacement part you need. It also means brand fluency doesn’t push you toward replacement. A door that only needs a roller swap gets a roller swap. Brand-agnostic repair capability matters because a technician who only knows one product line will sell you a new door when a garage door repair is all that stands between you and another decade of trouble-free operation.
Maintenance calls are also where we spot the small stuff: a Craftsman opener with a failing belt, a Clopay door with hinge screws loosened by heat expansion, a Wayne Dalton roller with a flat spot that’s about to grind a track. If any of that turns into a repair or a full installation, we’re set up to do it as a single visit. For homeowners needing South Hill Garage Door Repair coverage – spring, opener, door, or all three – that single-source setup is worth more than it sounds.
Common Mistakes to Avoid
- Lubricating the springs. It feels helpful. It isn’t. Oil attracts grit and can hide the early signs of a failing spring. Lubricate the hinges, rollers, and bearing plates, never the springs themselves.
- Spraying the tracks. A lubed track collects dust and dirt and turns into a grinding paste. Tracks are meant to run dry.
- Adjusting the opener’s force settings to fix a sluggish door. The force setting isn’t the problem, the door is. Raising the force setting makes the door less safe by letting it push through obstructions instead of reversing.
- Ignoring a bottom seal that’s only slightly cracked. On South Hill, cold weather turns a small crack into a full failure fast. Replace it at the first sign of a crack.
- Skipping the balance check after summer. Heat expansion can shift a door just enough to change the way it runs, and a door that runs out of balance wears rollers, cables, and springs faster.
- Putting off a repair because the door still opens. A failing spring or a wobbling roller doesn’t fix itself, and continuing to operate the door with a known problem tends to widen the repair.
- Tossing the manual and forgetting the brand. Keeping the model tag, the opener’s manual, and the brand name saves a service call in the future. If you don’t know the brand, we can tell you.
See the difference
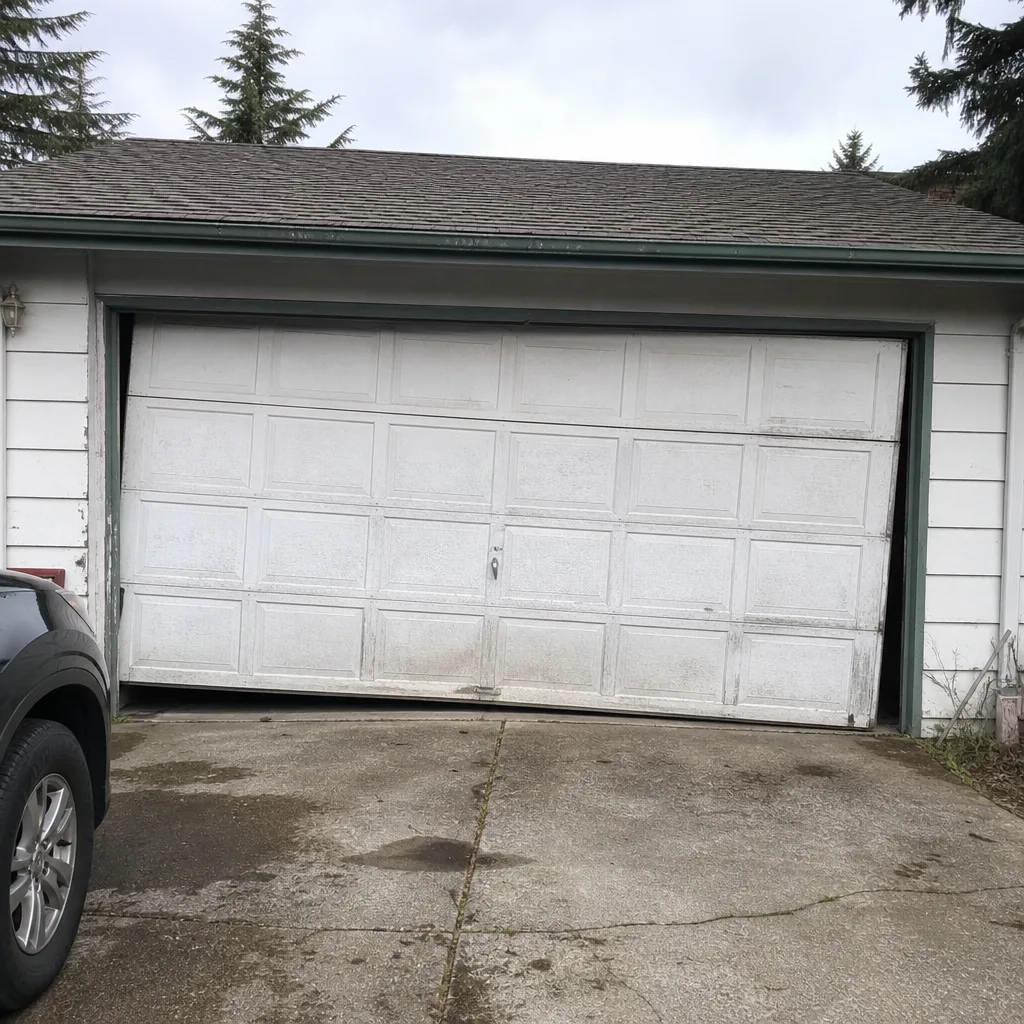 Before
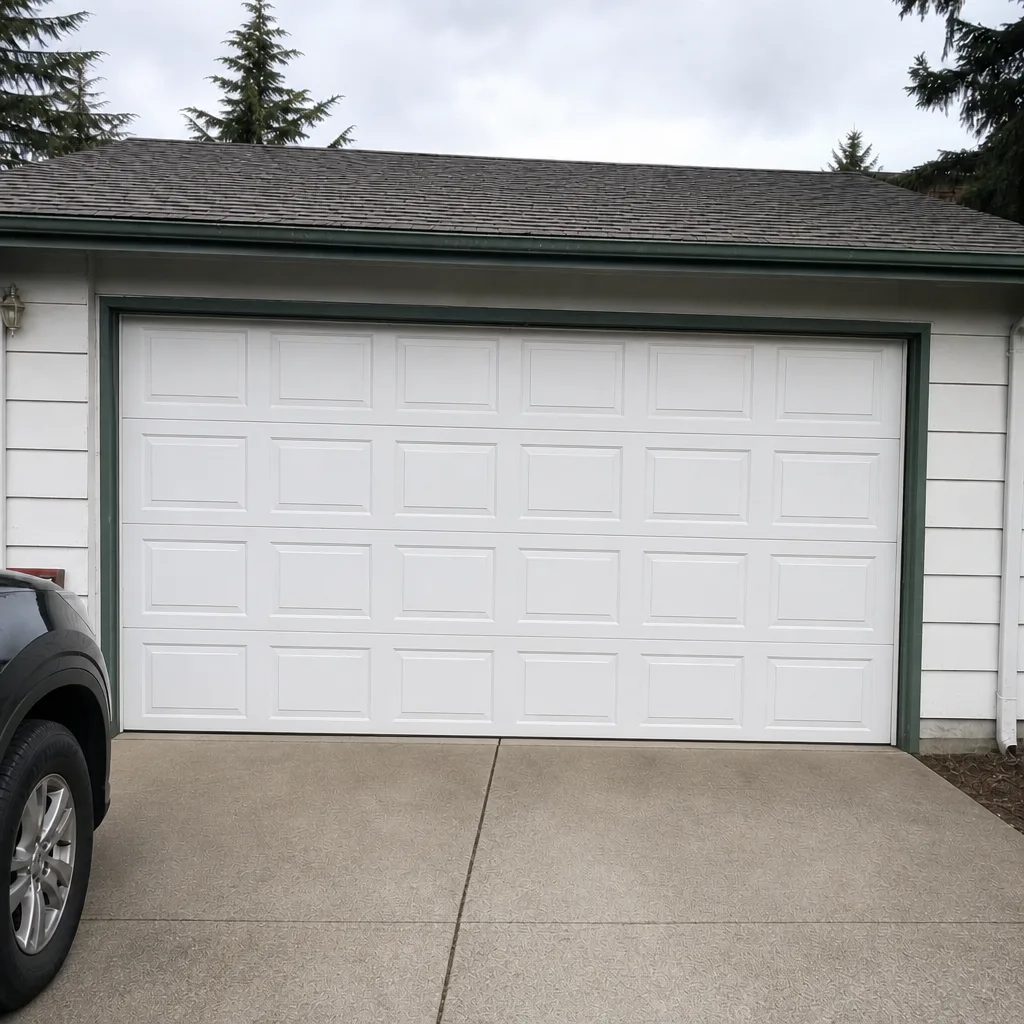 After
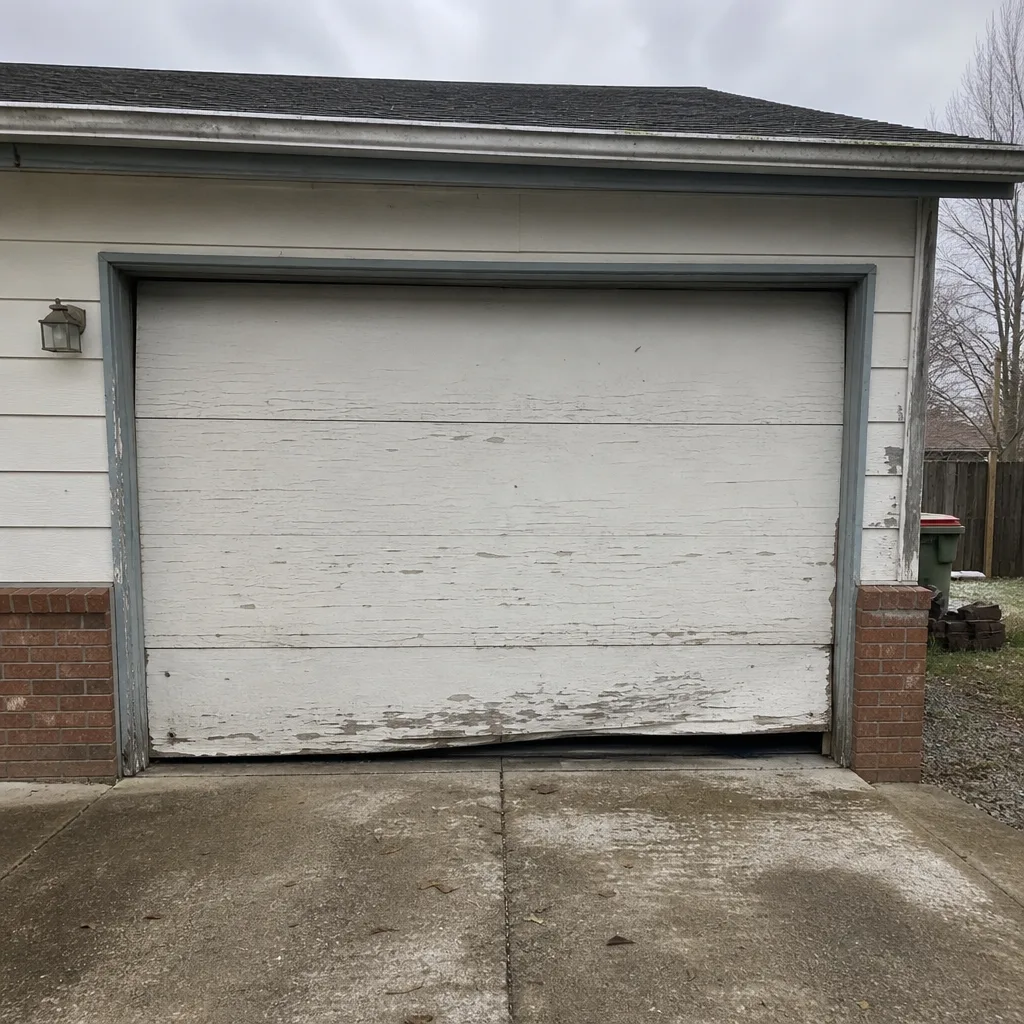 Before
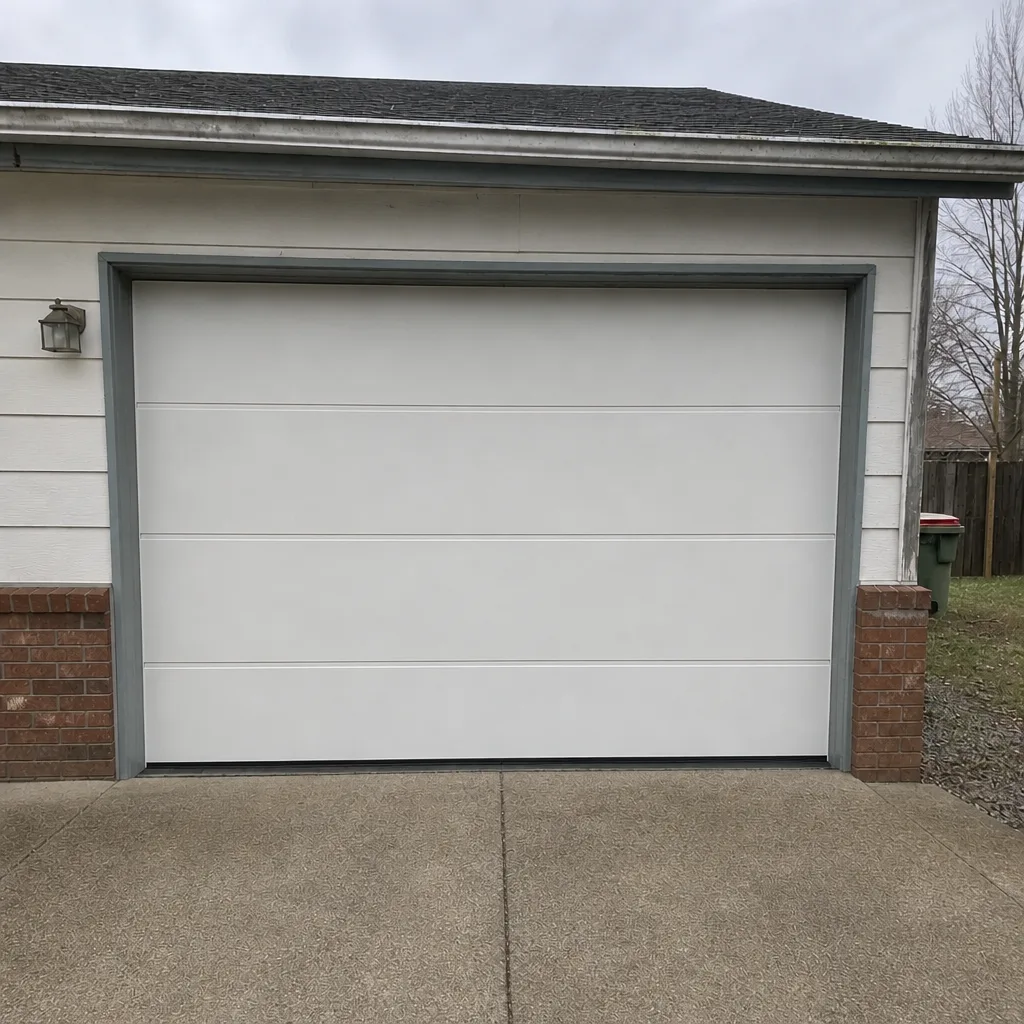 After
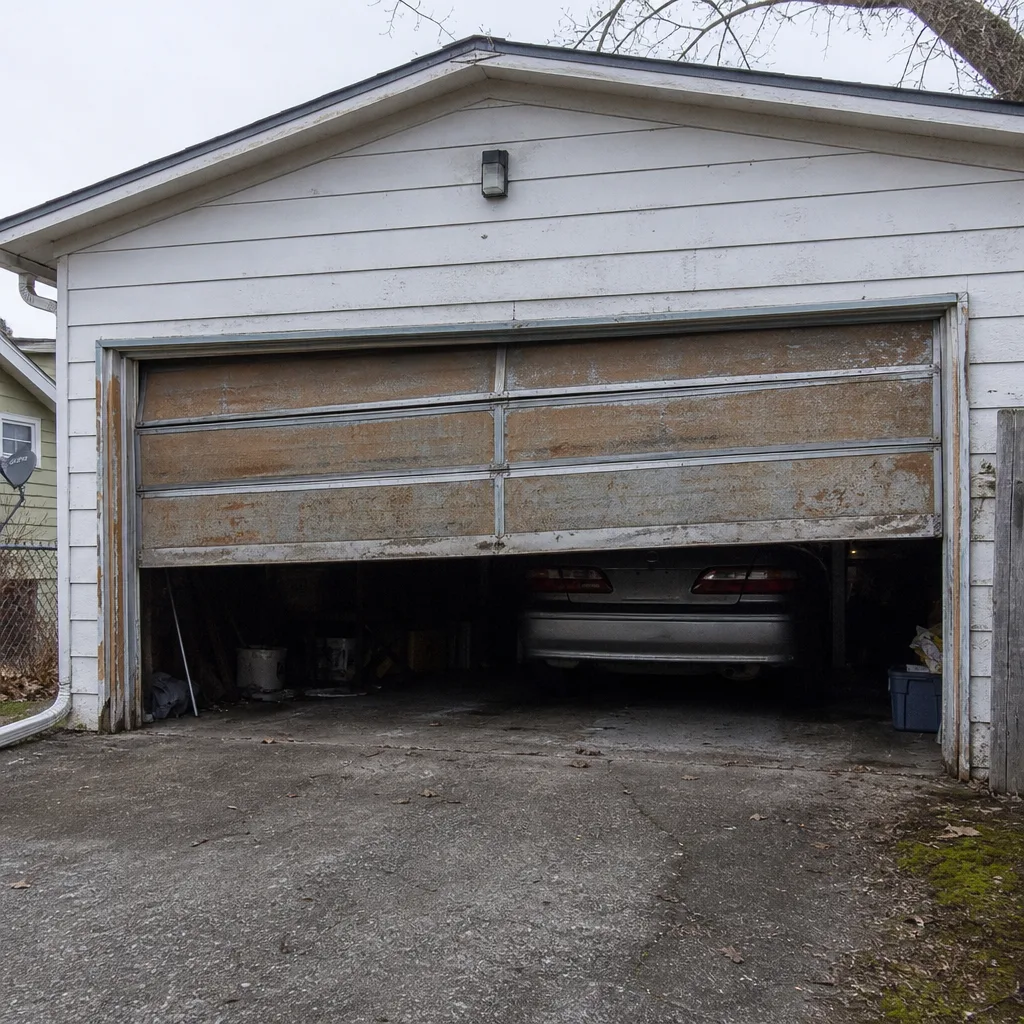 Before
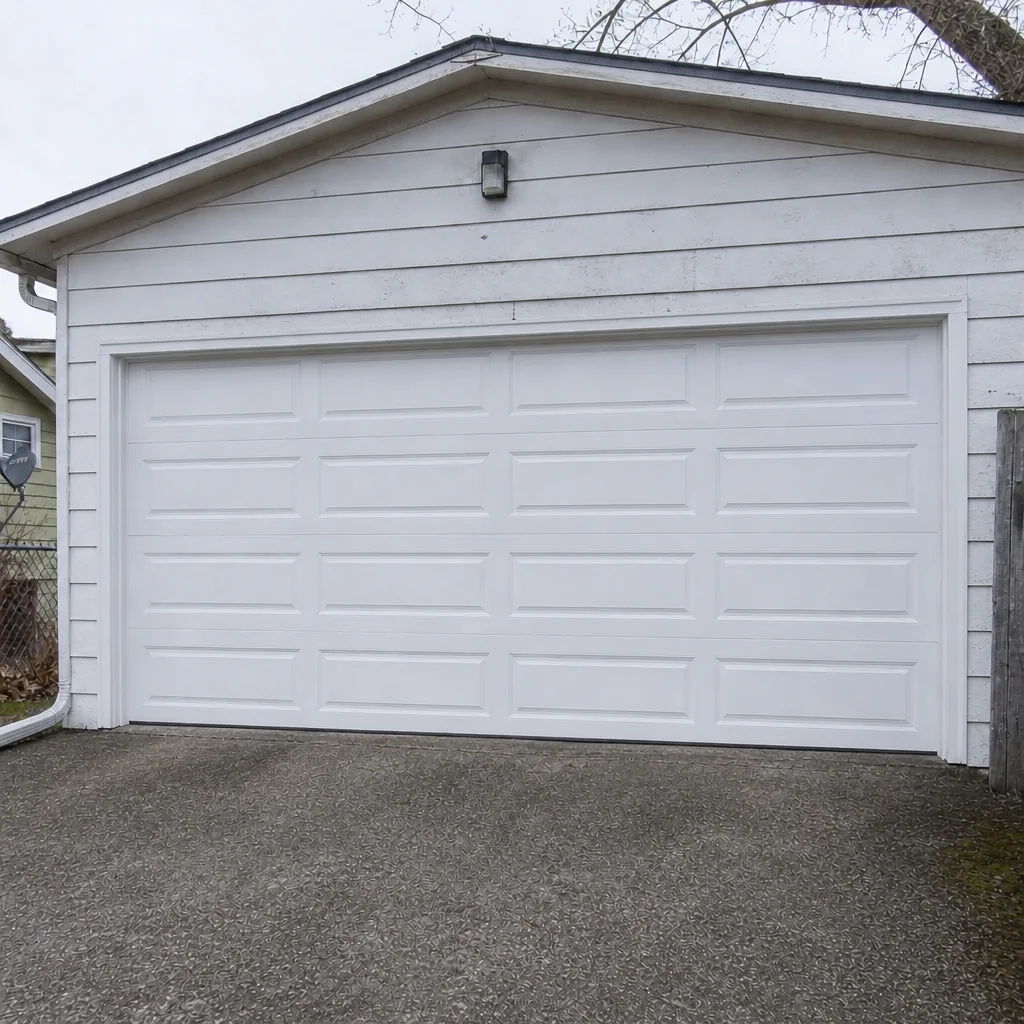 After
When to Call a Professional
Some of the tasks on this list are safe for homeowners and some aren’t, and the line between them is clear. Call a professional when: the door won’t open or close fully, you hear a banging or grinding sound, the door is visibly out of balance, a spring has parted or looks damaged, a cable has slipped or looks kinked, the reversing system fails its test, the opener won’t respond to the remote, or the door has been struck and taken off its tracks. Same-day and emergency service are available for the urgent cases. South Hill Garage Door Repair offers free estimates in South Hill – call (866) 937-7471, and once you’ve agreed the price, it’s quoted before any work starts.
Frequently Asked Questions
Twice a year is the practical answer for South Hill, timed to the seasons: a pre-winter check in late fall and a post-summer check in early fall. Add a quick visual inspection after any major weather swing. If your door gets heavy daily use, monthly lubricant passes are cheap insurance. Call (866) 937-7471 for an exact quote – estimates are free.
We quote per job after we see the door, and the price is set in writing before any work starts. A single torsion spring replacement is one task; a matched pair replaced together is another, so ask for the quote on the exact setup. Don’t judge on the lowest number alone – a spring that’s wrong for the door’s weight fails faster. Call (866) 937-7471 for an exact quote – estimates are free.
No. Springs store dangerous tension, and adding lubricant can attract grit and hide early failure signs. Lubricate the hinges, rollers, and bearing plates; leave the springs entirely to a technician. If a spring is showing symptoms, stop using the door and call. Call (866) 937-7471 for an exact quote – estimates are free.
Usually a track alignment or balance problem, or a spring that’s losing tension. On South Hill doors, heat expansion across summer is a common cause of small track shifts. A door that runs unevenly for weeks, or drifts on its own during the balance test, should be looked at before it damages the rollers or bends a track. Call (866) 937-7471 for an exact quote – estimates are free.
No. The written quote is the price. We inspect, explain what we found, and agree the price before any work starts, so there’s no invoice surprise. If the repair turns out to be simpler than the quote, that’s a conversation we have with you first. Call (866) 937-7471 for an exact quote – estimates are free.
Yes. Same-day and emergency service are part of what we do, because a stuck door is a security gap and a broken routine. Weather or a heavy call load can shift timing, but if you call early in the day you’ll usually be seen that day. Call (866) 937-7471 for an exact quote – estimates are free.
The local professional we connect you with is licensed and insured as their state requires. We also work on all major brands, so your door’s model is not a problem. If you’re not sure who to call, start here: (866) 937-7471. Call (866) 937-7471 for an exact quote – estimates are free.
The Bottom Line
A good maintenance checklist for a South Hill homeowner is honest about what’s safe and what isn’t. You can lubricate hinges and rollers, clean tracks, check the bottom seal, inspect weather stripping, test the reversing system, and do the balance test by hand. You should never touch springs, cables, cable drums, or opener force settings. Time the work to South Hill’s seasons: pre-winter and post-summer. Log what you find so the next technician starts ahead. And when something sounds off, stop using the door and call before a small fix widens into a bigger one.
Contact
If a check turns up a problem – a spring that’s showing symptoms, an opener that won’t respond, a door that’s off its tracks, or a door you’re considering replacing – call South Hill Garage Door Repair at (866) 937-7471 for a free estimate. We work on the brands that dominate South Hill homes, our technicians have up to 8 years of experience, and we’ll tell you what actually needs fixing before any work starts.
Written by the team at South Hill Garage Door Repair.