Last updated November 22, 2026
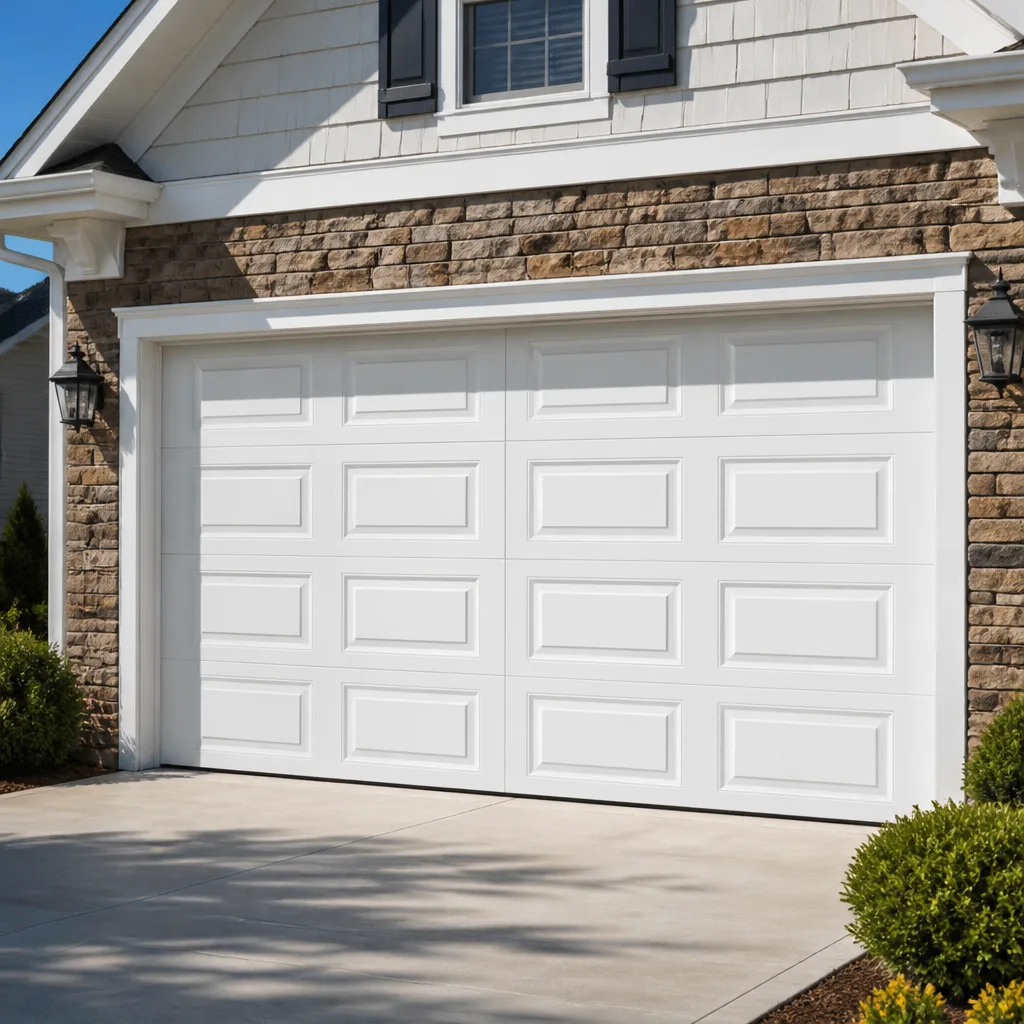 Raised-panel steel
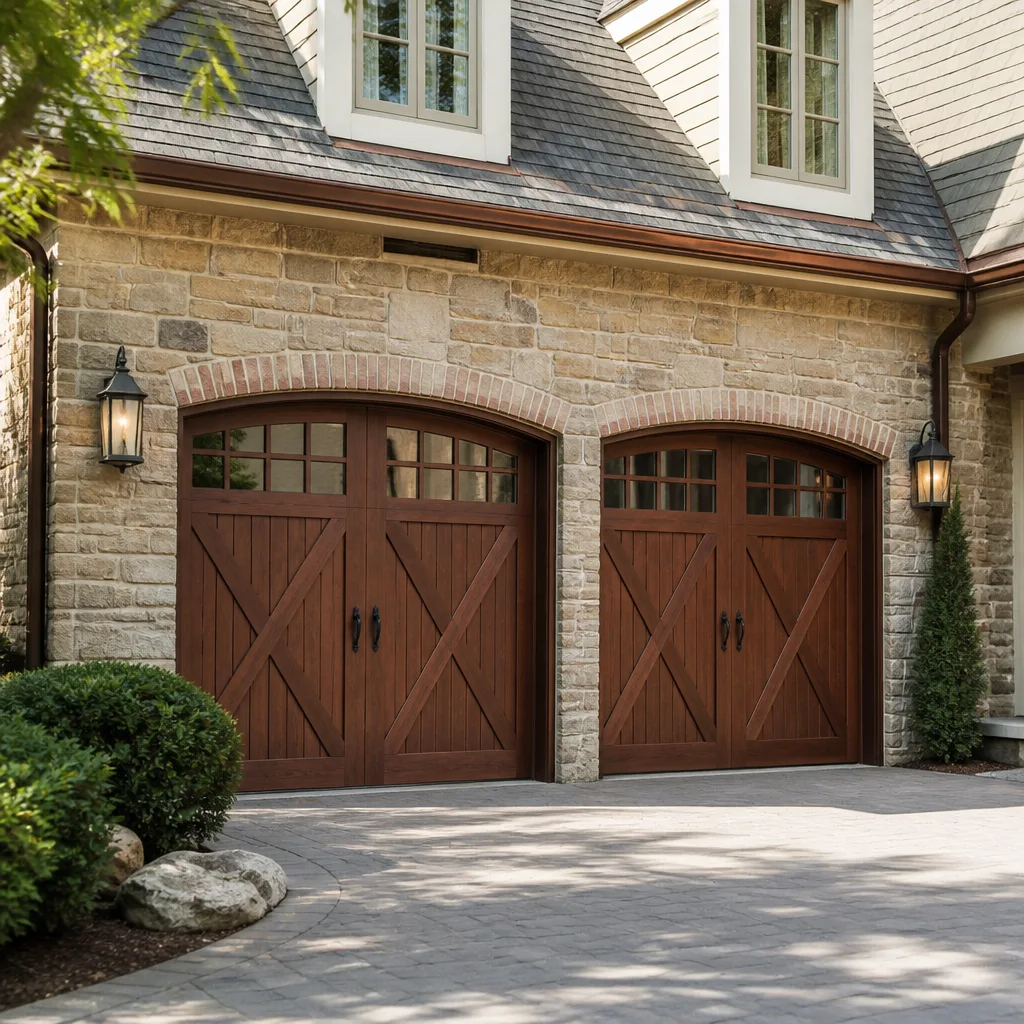 Carriage house
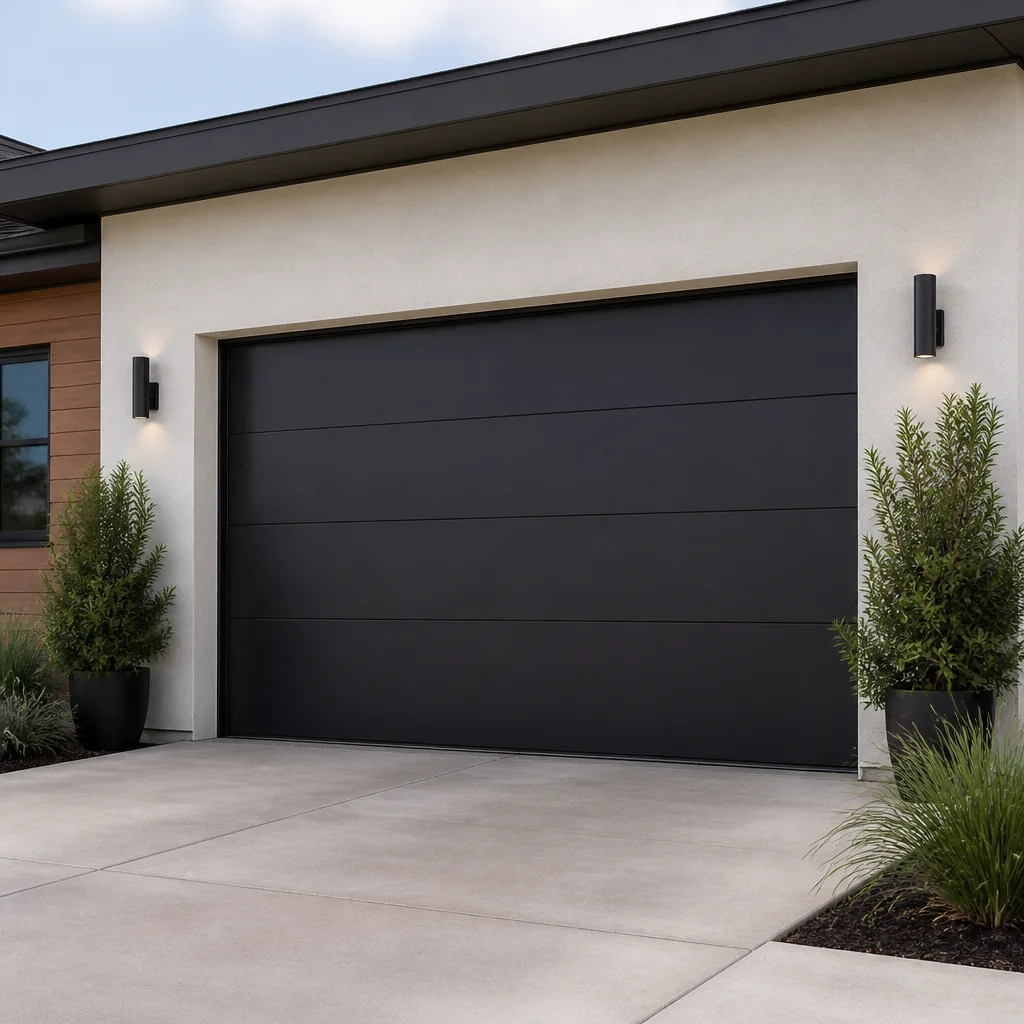 Modern flush
 Full-view glass
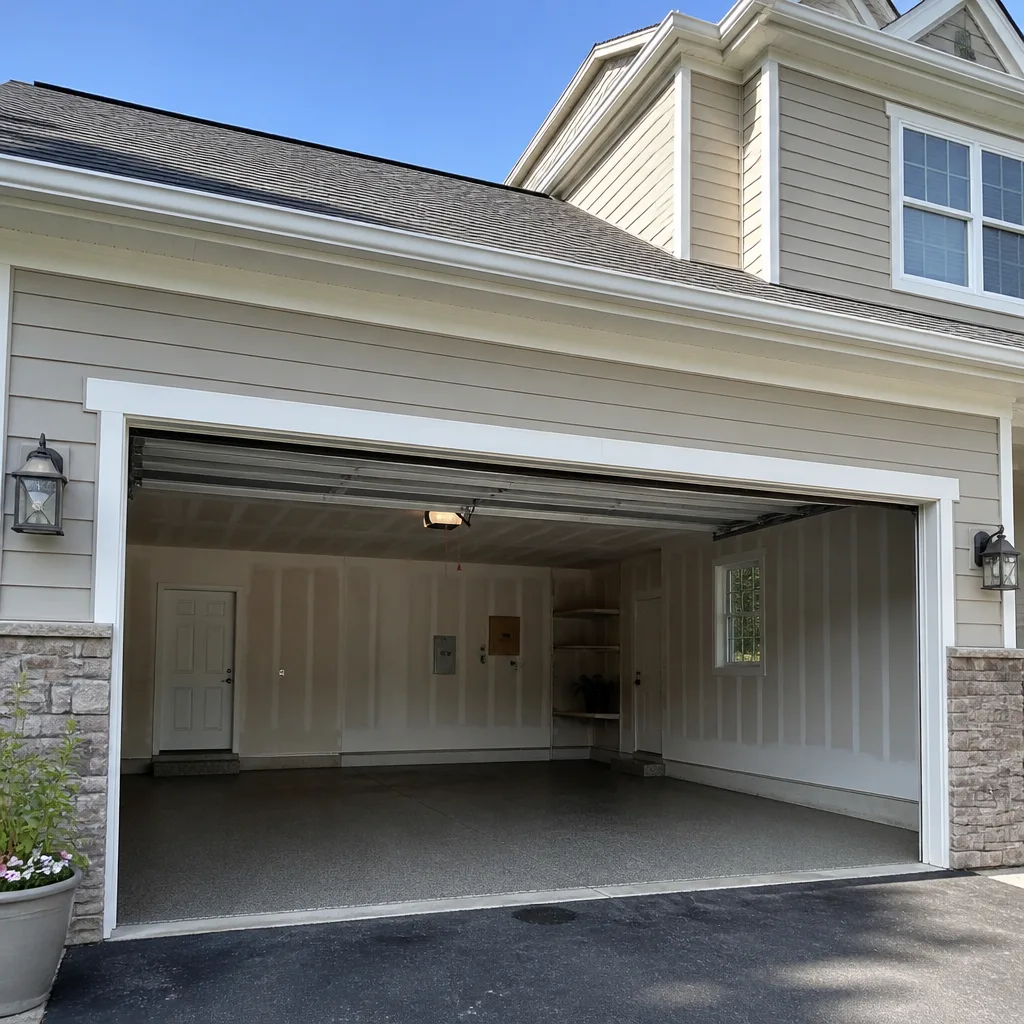 LiftMaster openers
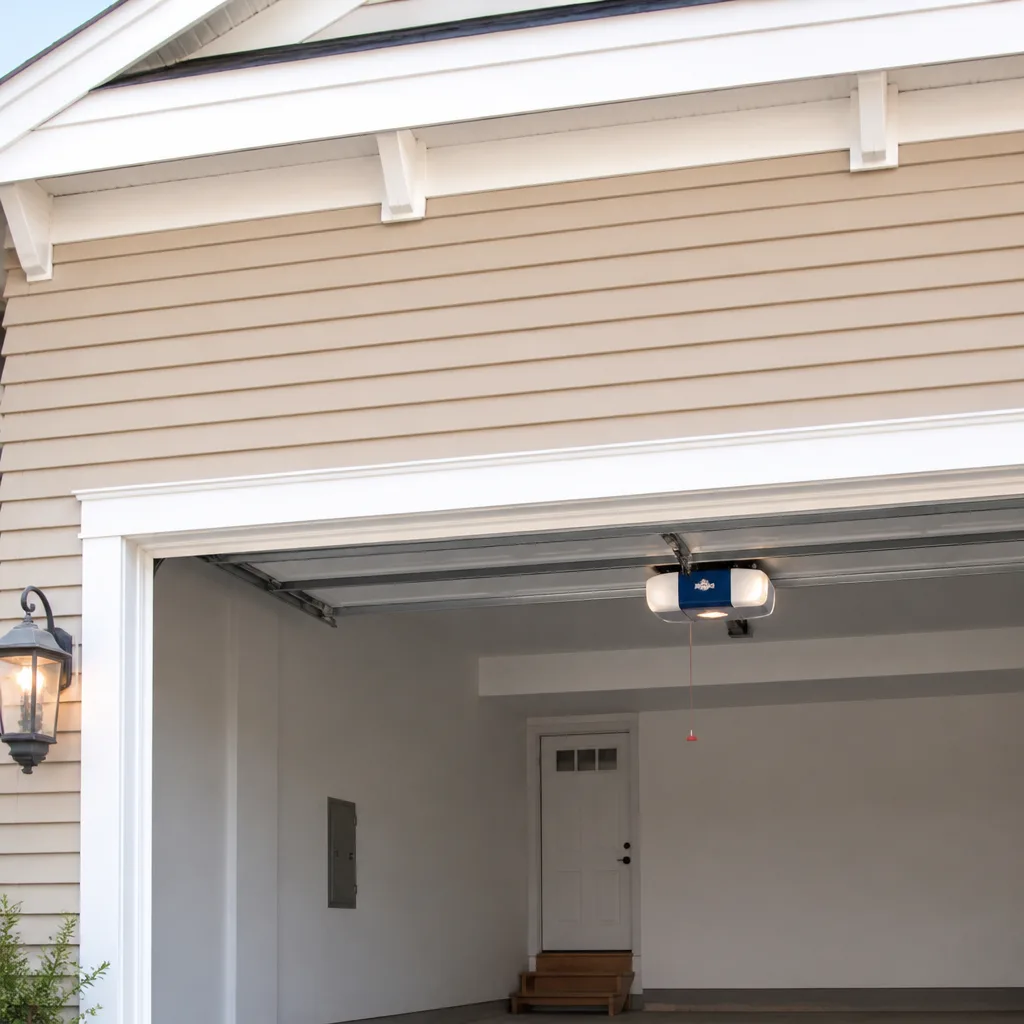 Chamberlain openers
Full 25-point door and opener safety check with every visit - springs, cables, rollers, tracks, and your LiftMaster or Chamberlain opener included
You get a price before we start. It does not change when the pro arrives.
Get your free estimateDIY vs Professional Garage Door: The South Hill Homeowner’s Decision Guide
Most garage door advice treats every repair as equally terrifying. That’s wrong, and it stops capable homeowners from saving money on easy jobs. The real question isn’t whether you’re handy enough for garage door work. It’s which parts of the system are genuinely safe to touch and which ones can put you in the hospital. Lubricating a track takes a few minutes and a cheap can of spray lubricant. Twisting a torsion spring is a different category of risk altogether. This guide draws a clear line between the two, gives you honest cost math, and helps South Hill homeowners decide when to grab a wrench and when to call us.
Quick Answer
Cosmetic and maintenance tasks – lubricating tracks and rollers, cleaning sensors, tightening exposed bolts, replacing a remote battery – are safe and cost-effective for most homeowners. Any work involving torsion springs, cables, bottom brackets, or the door’s lifting mechanism should go to a trained professional. Spring and cable failures are the leading cause of serious garage door injuries, and a DIY spring replacement that goes wrong usually costs more than hiring a pro the first time.
Styles & brands we work with
- Raised-panel steel
- Carriage house
- Modern flush
- Full-view glass
- LiftMaster openers
- Chamberlain openers
Table of Contents
- What’s Actually Safe to Do Yourself in South Hill
- Where DIY Becomes Genuinely Dangerous
- The Real Cost Math of DIY Spring Replacement
- YouTube DIY Tutorial Red Flags
- Partial DIY: Preparing for a Technician Visit
- Why Multi-Brand Homes Are Harder to Self-Diagnose
- How South Hill Weather Affects Garage Door Wear
- DIY vs Professional: A Side-by-Side Cost Picture
What’s Actually Safe to Do Yourself
Plenty of garage door maintenance falls into the “competent homeowner” category. These tasks carry low risk and real savings, and doing them regularly extends the life of your system. If you can change a light bulb and follow printed instructions, you can handle most of these.
Here’s the honest list of what’s safe:
- Lubricating tracks, rollers, hinges, and the opener’s drive chain – a spray lubricant applied to the right spots every few months cuts noise and friction. Avoid greasy products on the tracks themselves, since they attract grit.
- Cleaning the safety sensors – a soft cloth and mild cleaner on the two small lenses near the floor resolves most sensor faults.
- Replacing the opener remote battery – the most common false alarm there is.
- Re-aiming the sensors – the brackets that hold them are adjustable, and nudging one back into line often fixes a door that reverses unexpectedly.
- Tightening exposed bolts on the track brackets and door hinges – a socket set and careful turns.
- Testing the door’s balance – disconnecting the opener from the door and manually lifting it halfway to see whether it stays put.
- Testing the auto-reverse feature – placing a block of wood under the closing door and confirming it reverses.
- Checking the track for visible dents or debris – spotting loose material or a bent section early prevents bigger trouble.
These are all maintenance-level items. They don’t require a technician, and doing them yourself is money in your pocket. The line moves the moment you start dealing with the parts under tension, and that’s where the next section begins. If a task isn’t on this list and you’re already unsure, a quick call to a South Hill garage door professional is cheaper than guessing.
Where DIY Becomes Genuinely Dangerous
Torsion springs, cables, and bottom brackets are the parts that hurt people. This isn’t cautious corporate language – it’s the honest engineering reality. A wound torsion spring holds the door’s full weight under tension, and releasing that tension incorrectly can cause serious injury in a fraction of a second.
Here’s what belongs on the “leave it to a professional” list:
- Replacing torsion springs – the winding process requires specific rods and precise knowledge of the spring’s turns and cycle count. A spring under load can release violently.
- Replacing extension springs – even though they’re stretched along the sides rather than wound above the door, they still carry significant stored energy and need safety cables at minimum.
- Cable replacement – cables are wound under extreme tension and can whip when released.
- Bottom bracket work – the bottom bracket holds the cable under tension. Undoing it by hand is asking for trouble.
- Pulling the door’s lifting cable or cutting a tensioned spring – people attempt this because it “looks” like the fastest way to release the door. It’s the fastest way to get hurt.
- Adjusting the door’s lifting force or rebalancing a door without proper equipment – a misbalanced door can drop or lift unexpectedly.
- Working on the high-voltage side of the opener or its wiring – any electrical connection that isn’t a simple plug-in should go to a pro.
We’ve seen the aftermath of DIY spring work, and it rarely ends with just a repair bill. It ends with a homeowner who either got lucky or got hurt, and a door that was never quite right afterward. For this category of work, booking a garage door spring repair visit through a trained technician is the right move every time. A professional wears the right equipment, knows how many turns a specific spring needs, and can verify the door’s balance after the job.
If your door has a snapped spring right now, don’t run the opener and don’t try to lift the door by hand while the spring is broken. The door’s weight is unsupported. Call for professional help.
The Real Cost Math of DIY Spring Replacement
The DIY pitch usually goes like this: the spring is $35, the rods are $30, and you’re done for under $100. That math leaves out the parts that actually matter. When the numbers are laid out honestly, DIY spring replacement rarely saves money – it just moves the risk into your garage.
Here’s what a real cost comparison looks like for a South Hill homeowner weighing the two paths:
- DIY parts: correct replacement spring, two winding rods, safety glasses, gloves. That’s the floor.
- Tool rental or purchase: if you don’t already own the right rods and a torque wrench, this adds up fast.
- The re-do scenario: springs come in different wire gauges, lengths, and cycle ratings. Install the wrong one and the door is unbalanced or the spring fails early. Now you’ve bought two springs and you’re still paying a pro.
- The injury scenario: a single ER visit costs infinitely more than a professional repair.
- Professional route: one written quote, the right spring for your door’s weight and height, installation and balance check included.
There’s also a subtler cost: a mis-installed spring puts extra strain on the opener. Openers aren’t designed to lift a door alone, and a year of running a heavy door with a weak or wrong spring shortens the opener’s life. If you want to understand what the professional side looks like, our garage door opener repair team routinely sees damaged openers that trace back to a spring problem left too long or done wrong.
The honest answer: if the spring is broken, the professional repair is the cheaper path in most cases. It’s also the only path where you don’t have to hope your winding technique was right.
YouTube DIY Tutorial Red Flags
Not all garage door videos are bad. Some walk through safe maintenance clearly. But the bad ones share patterns, and once you know what to look for, they’re easy to spot. If you see any of these, close the tab and call a pro.
- The winding rod is a screwdriver or a piece of scrap wood. Proper spring winding requires dedicated winding rods sized for the job. Anything else can slip under load.
- The presenter skips eye protection and gloves. A spring failure sends metal fragments – the visible lack of protection tells you they haven’t thought through the failure mode.
- No mention of knowing the door’s weight or spring cycle rating. Picking a spring by eye is how doors end up unbalanced and failing early. The door’s weight, height, and intended cycle life all determine which spring is right.
- “Just pull it off” or “cut the cable” as the first step. No legitimate tutorial tells you to cut or yank a tensioned cable or spring. If it does, stop watching.
- No balance check after installation. Any real spring replacement ends with checking that the door operates smoothly through its full travel. A tutorial that skips this step is incomplete at best.
- The “quick-fix” that reuses old cables or hardware under new tension. Springs and cables wear together. Replacing one without checking the other is a shortcut that fails.
- Confident tone, zero safety chapter. If they can’t tell you what can go wrong, they haven’t done the job enough times to know.
In our experience, the riskiest tutorials are the ones that look slick. Good production doesn’t mean the method is safe, and a presenter who has clearly done the job hundreds of times makes it look easier than it is. The torque involved doesn’t care how experienced the person on the video is. If you’re unsure at all, get a quote from a South Hill garage door specialist before you touch the spring.
Partial DIY: Preparing for a Technician Visit
There’s a middle path most people miss. You don’t have to choose between doing everything yourself and doing nothing. Smart homeowners in South Hill do the prep work themselves and let a technician handle the actual repair. This shortens the visit and can reduce billable time.
Here’s a practical prep checklist:
- Clear the garage floor under the door. Technicians need room to work and a safe path around the vehicle.
- Write down exactly what the door is doing. Does it reverse on its own? Stall partway up? Feel heavy when lifted? A specific description helps the technician diagnose faster.
- Note the door brand and any model information on the opener. If it’s a LiftMaster, Craftsman, Raynor, or another make, that label saves time.
- Test whether the opener is the problem or the door is. Disconnect the opener from the door and try lifting it by hand. If it’s heavy, the door is the issue. If it moves freely but the opener won’t run it, the opener is the issue.
- Have your gate code or entry instructions ready. If your garage shares an entry with a shared driveway or alley access, make sure the technician can get in.
- Note any noises that appeared recently. A grinding, popping, or scraping sound is diagnostic information.
This is the productive version of DIY. You’re not risking your safety – you’re doing the diagnostic prep, and the technician arrives with a head start. On a multi-door garage, this prep can shave time off the visit. If you’re in South Hill and want to know what to look at before booking our garage door repair service, these steps are the right starting point.
Why Multi-Brand Homes Are Harder to Self-Diagnose
A garage with two or three different door and opener brands is common in South Hill, especially in older neighborhoods where doors have been replaced or upgraded over the years. It’s also the setup that makes DIY diagnosis hardest, because the compatibility questions go in both directions.
The problem isn’t just that you need to know the door brand. You need to know how the opener and door work together. Some questions a homeowner ends up facing:
- Does this opener’s travel limit work with this door’s track geometry?
- Is the door’s weight within this opener’s rated lift capacity?
- Will the safety sensors pair correctly with a different brand’s wiring harness?
- Is the remote compatibility issue a battery, a frequency mismatch, or a pairing issue?
- Does this door’s spring setup expect a particular opener’s force setting?
Each of those questions crosses brand lines, and the answer isn’t on the door’s sticker or the opener’s manual in isolation. You need both sides. This is where a multi-brand specialist earns their keep: our technicians are factory-familiar with Wayne Dalton, Craftsman, Raynor, LiftMaster, and the rest of the major brands. That means we diagnose faster and know the compatibility quirks without trial and error.
For a homeowner facing a multi-brand garage in South Hill, the honest recommendation is to stop guessing. A single diagnosis visit can tell you whether the door needs repair, the opener needs service, or the two just need to be re-paired. Self-diagnosing a multi-brand setup often ends with the wrong part purchased and a second trip anyway.
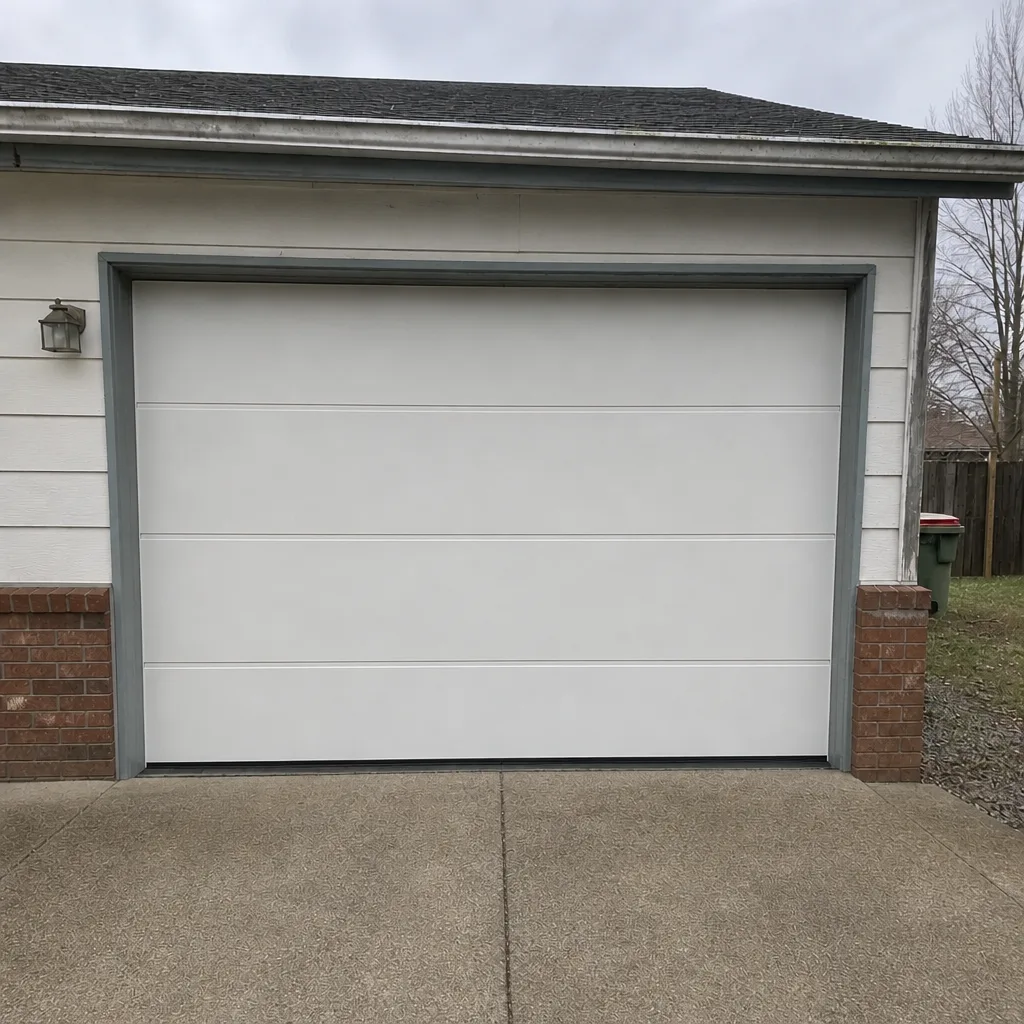
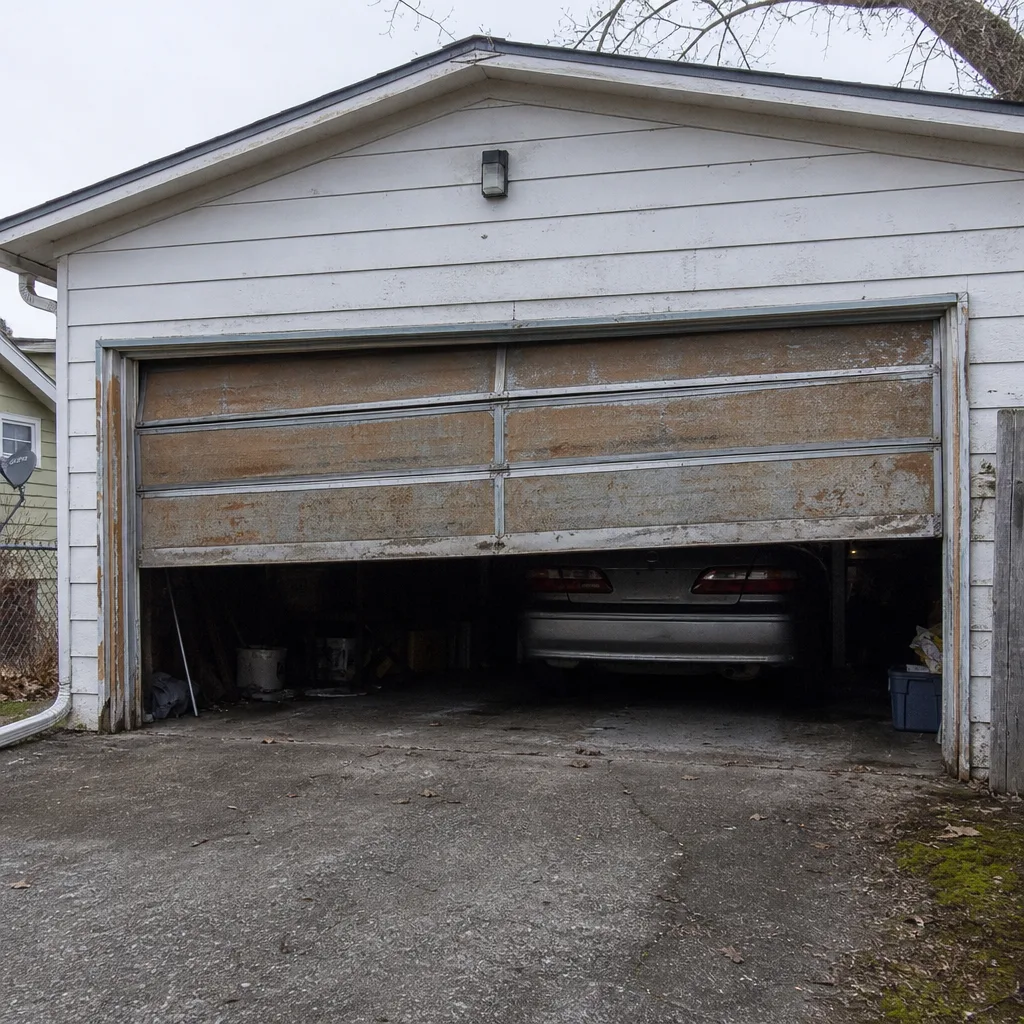
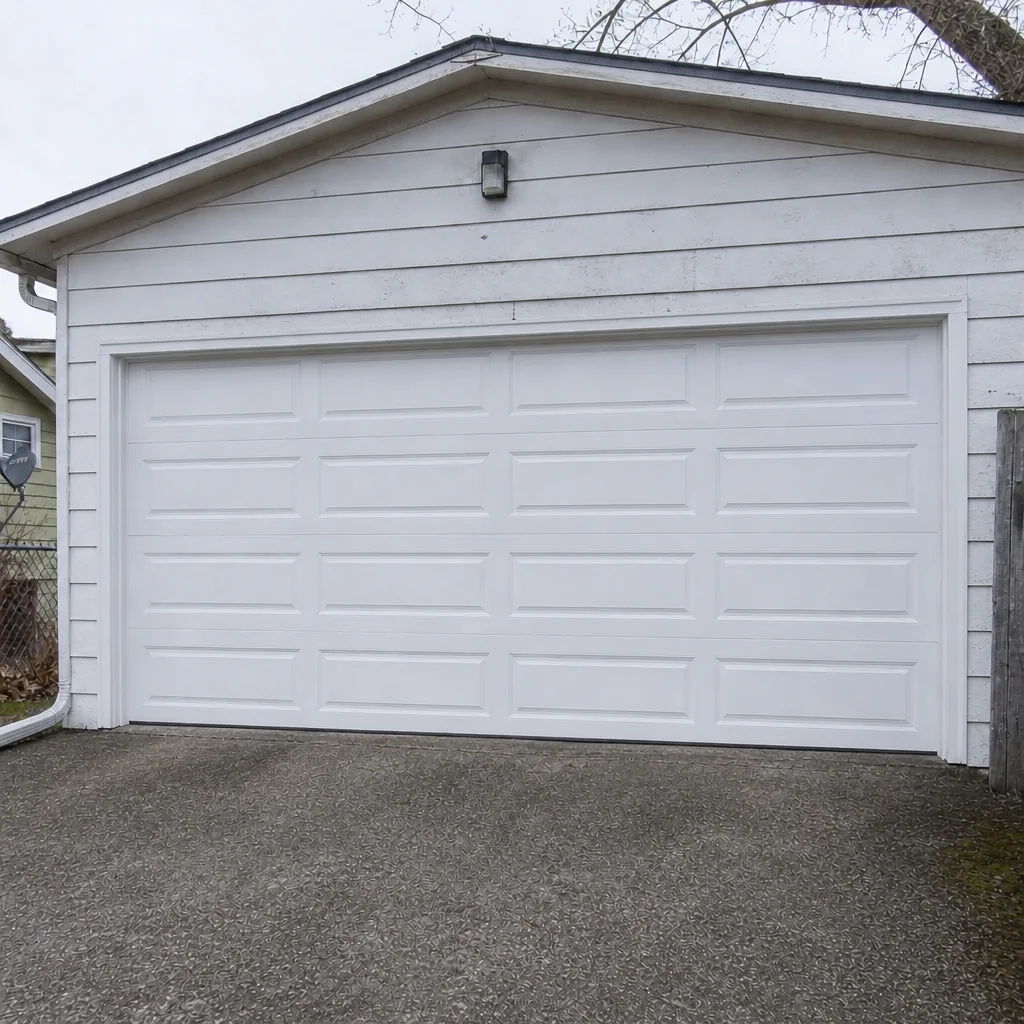
See the difference
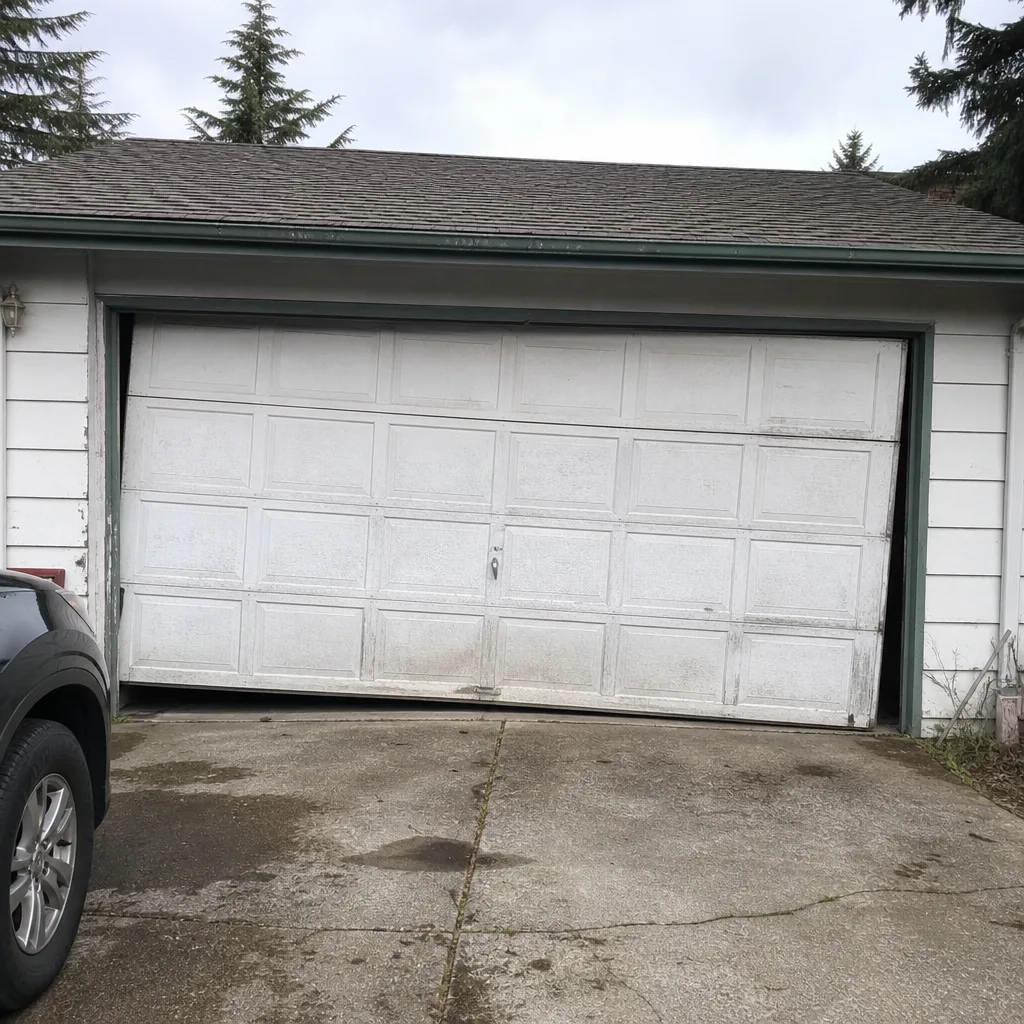 Before
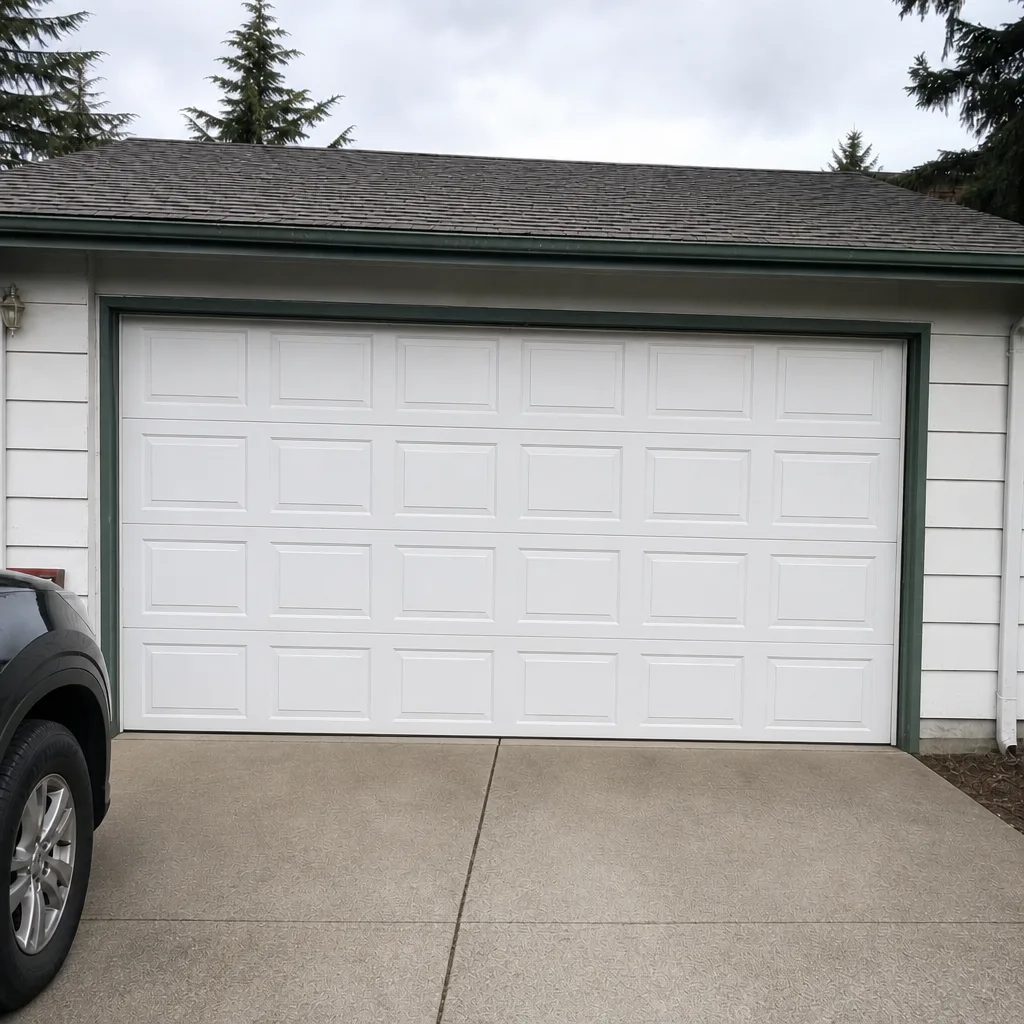 After
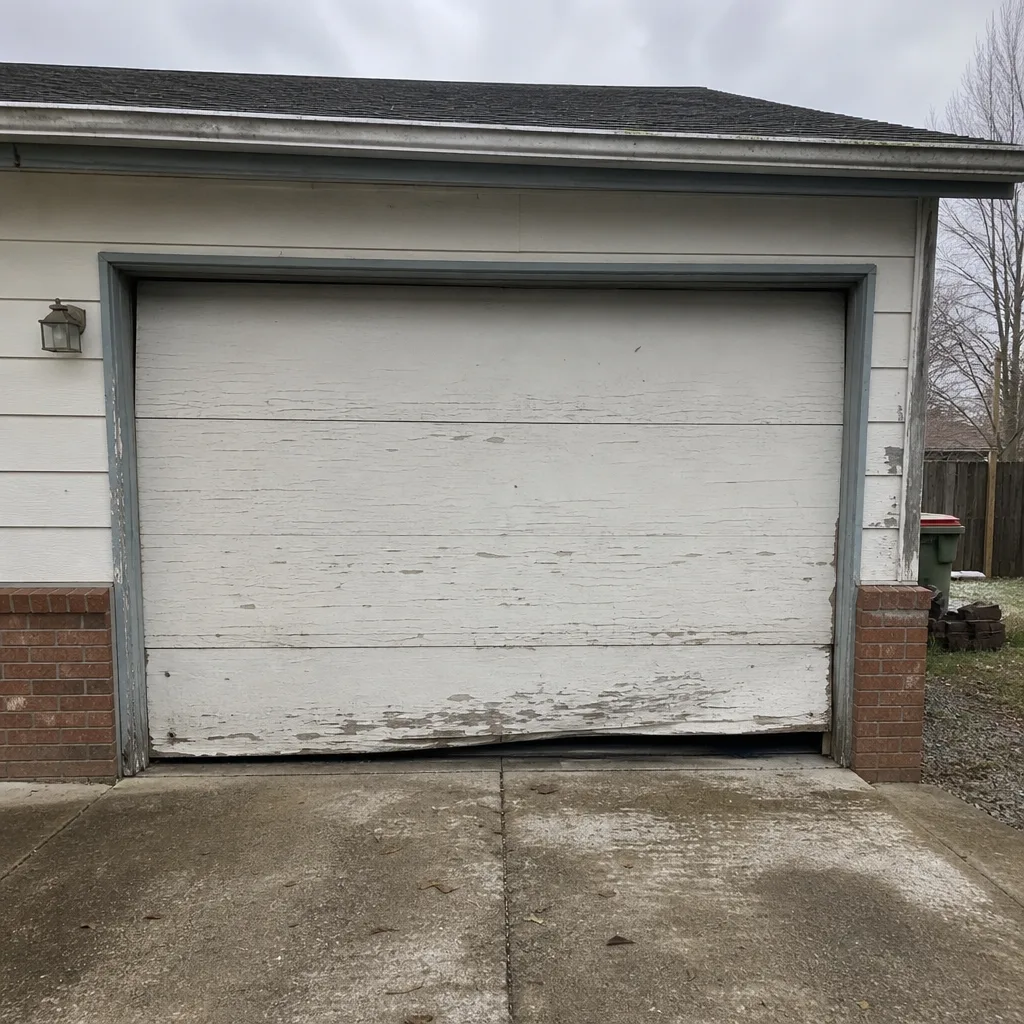 Before
 After
 Before
 After
How South Hill Weather Affects Garage Door Wear
South Hill’s seasons put real stress on garage door systems. Winters bring cold and damp, and cold metal contracts. Springs that are near the end of their cycle count often fail in the coldest stretch of winter because the metal is more brittle and the door’s weight feels heavier. Summer swings the other way: heat expands tracks, and a track that was fine in January can start binding in July.
What that means for DIY decisions:
- Fall is a smart time for a professional tune-up. Catching a weak spring before winter is cheaper than a mid-winter failure.
- Track noise that appears in summer often points to expansion. Lubrication helps, but persistent binding needs a technician.
- Cold snaps are when springs snap. If a spring fails in winter, that’s not a fluke – it’s the season doing what it does.
- Rain and damp accelerate wear on tracks and hardware. Walking your door’s operation monthly helps you spot rust or sticking early.
None of this changes the DIY line. It does change how often you should check the system and how quickly you should act on small issues. South Hill homeowners who catch a slow-rising door in October save themselves an emergency call in January. And if the call does come in January, emergency garage door service is available – we’re not a business-hours-only operation, and a stuck door doesn’t get left overnight.
DIY vs Professional: A Side-by-Side Cost Picture
Here’s the comparison most guides won’t give you. Numbers are estimates; every situation is different, and a written quote is the only reliable price.
- Track lubrication and roller maintenance (DIY): cost of a can of spray lubricant and an hour of your time. Safe for most homeowners.
- Track lubrication and roller maintenance (professional tune-up): modest service fee; useful when combined with a full inspection.
- Safety sensor replacement (DIY): parts cost, safe if it’s a straight swap.
- Safety sensor replacement (professional): includes diagnosis of why the sensor failed, worth it if you’ve replaced it twice.
- Spring replacement (DIY attempted): parts plus tool rental plus real risk of a re-do. The math rarely works in your favor.
- Spring replacement (professional): one quoted price, correct spring for your door, balance check included, injury risk off the table.
- Opener replacement (DIY): possible but difficult if the door and opener are different brands. Wiring and force-setting mistakes are common.
- Opener replacement (professional): matched system, safe wiring, verified operation.
- Door off track (DIY): do not attempt. The door’s weight is unsupported and can fall.
- Door off track (professional): emergency service, correct re-seating of rollers, inspection for bent track.
The pattern is clear. Maintenance-level work favors DIY. Safety-critical work favors the professional in every cost scenario, even before you count the cost of an injury. When you’re ready for a real number on your door, start with South Hill Garage Door Repair and we’ll give you an upfront price before any work starts.
Common Mistakes to Avoid
- Treating every garage door issue as a DIY opportunity. Maintenance is fine, but the moment the job involves springs, cables, or brackets, DIY risk goes up sharply. Know which category you’re in before you touch anything.
- Buying a spring by eyeballing the old one. Springs are sized by wire gauge, length, inside diameter, and cycle rating. “Looks about right” is how doors end up unbalanced and failing early.
- Running the opener on a broken spring. This is the most expensive shortcut there is. The opener tries to lift the full door weight alone and can burn out its motor or strip its gear. If the spring is broken, stop using the opener.
- Ignoring a slow-rising door. A door that’s getting harder to lift is usually telling you the spring is losing tension. Waiting turns a spring repair into a spring plus opener repair.
- Following a tutorial that skips eye protection. If the presenter isn’t wearing safety glasses, they’re modeling exactly what not to do. Springs under tension send fragments when they fail.
- Assuming a multi-brand garage can be self-diagnosed from one manual. Compatibility issues cross brand lines. A Wayne Dalton door with a LiftMaster opener may need a diagnosis that considers both.
- Letting a small track dent become a door-off-track emergency. South Hill winters push track binding. A small dent caught early is a maintenance visit; a door off track is an emergency call.
When to Call a Professional
Call a professional when the work involves anything under tension: torsion springs, extension springs, cables, bottom brackets, or the lifting mechanism. Call when the door is off its track, when the opener runs but the door doesn’t move, when you’ve replaced a sensor three times and it still won’t close, or when the door feels heavier than it used to. Call if the door is making a loud snap, pop, or grinding noise it didn’t make before. On a multi-brand system, call as soon as the diagnosis isn’t obvious – the compatibility questions usually aren’t. Our technicians have up to 8 years of experience, and we’re comfortable diagnosing systems where the door and opener come from different makers.
South Hill Garage Door Repair offers free estimates in South Hill – call (866) 937-7471. The price is quoted and agreed before any work starts, and same-day and emergency service is available.
Frequently Asked Questions
You shouldn’t. Torsion and extension springs hold stored energy that can cause serious injury if released incorrectly, and the winding process requires specific tools and knowledge. A spring replacement is one of the few garage door jobs we recommend every homeowner hand to a trained professional, regardless of DIY confidence. Call (866) 937-7471 for a free estimate on spring repair.
Lubricating tracks and rollers, cleaning or re-aiming the safety sensors, tightening exposed bolts, replacing a remote battery, and testing the door’s balance are all safe for a competent homeowner. Anything involving springs, cables, brackets, or the lifting mechanism should go to a professional. If a task is unclear, call us at (866) 937-7471.
Pricing depends on the spring type, the door’s size and weight, and whether one spring or a matched pair is replaced – one spring is one price, and a matched pair typically costs about twice that. Give us a call at (866) 937-7471 for a free estimate, and we’ll quote the exact price before any work starts.
Same-day and emergency service is available, and we don’t limit calls to business hours. If the door is stuck open, stuck closed, or off its track, call (866) 937-7471 and we’ll get you on the schedule. If your door fails on a Sunday, we’ll book you for Sunday; if it fails on a Saturday, we’ll schedule you for the earliest available day.
No. The price we quote is the price you pay. We inspect the door, give you a written estimate, and the quote is agreed before any work starts. If we discover something during the repair that changes the scope, we talk to you before proceeding. Call (866) 937-7471 for a free estimate.
Yes, it does. Multi-brand systems require knowing both the door’s and the opener’s specs. A door’s weight and track geometry need to match the opener’s rated lift, and the sensors and remotes must be compatible. We work on all major brands, so we can diagnose the whole system rather than guessing at one half. Call (866) 937-7471 to book a visit.
The Bottom Line
Garage door work splits into two clear categories. Maintenance tasks – lubrication, sensor cleaning, bolt checks, balance testing – are safe, cheap, and worth doing yourself. Anything under tension – springs, cables, brackets, the lifting mechanism – is a professional’s job every time, and DIY spring replacement rarely saves money once you count the parts, tools, re-do risk, and injury risk. Partial DIY is the smartest middle path: do the diagnosis and prep, let a technician handle the dangerous work. Call us at (866) 937-7471 for a free estimate, and we’ll quote you the exact price before any work starts.
Written by the team at South Hill Garage Door Repair.